Showing posts with label Crafty Projects. Show all posts

Thursday, August 22, 2013

Burlap Wreath with Chevron Ribbon

My mom is super crafty as we all know and she decided to make us a burlap wreath for the front door. She used a few tutorials, but this one was the foundation for the burlap. As always she did a fantastic job! Thanks Mom!
We just have to get a fancy W for the middle.
Peekaboo!
It really adds a nice touch of character to the entry way. Don't mind our red flower basket, it's on it's last leg.
Pin It

Tuesday, July 2, 2013

Finishing A Few Projects

We headed to Porter Paints where David's nephew, Josh works to see what he would recommend for a good paint for our helper stand.  If you missed the post where David built Max a helper stand you can find it here.  I read up and was going to get an oil based paint to eliminate brush strokes and provide durability.
Josh recommended this new paint that is called Break-Through. It is an ulta-durable water-based acrylic.  One of the top selling features is that it's formulated to bond to some of the most difficult substrates including fiberglass, ceramic tile, laminate, and many plastics. It also dries to the touch in 15-20 minutes. 
David's been wanting to try out this HVLP paint sprayer for some reason because we are avid painters (not). 
I wish we would have sanded it a little better, but I got to work painting.  I learned that David is not a perfectionist at all and has no patience for details.  He kept saying "I'm a big picture kind of guy."  He tried to turn the pressure up double the recommended value to get it done faster.  Let's just say he isn't allowed to use the paint gun, he doesn't do nice even strokes.  I don't have the best form on my posture, but I did a good job. 

We picked a color similar to the blue in the chair covers we have in the kitchen.  I just love that blue color.
Finished product (for now-I'd like to go back and sand a few areas).
Remember when we got this outdoor couch at a garage sale for $30?  Well we've been wanting to cover the cushions in a nicer fabric since the current cushions are pretty gross and worn (hard to see from photo). Well, recovering takes a lot of time and money that I didn't want to spend now.  So guess what we're doing.

Painting them!  We tested one and it worked pretty good (it is an indoor/outdoor paint).  The bottom cushions are splotchier because they are so worn, but we'll see how it turns out.  If it looks horrible we can always recover them later.  I used the same paint that we used for the helper stand so didn't cost us any additional money.
 
Shout out to Mom who finished covering the coffee table with batting, padding (like in fireplace covers for kids) and fabric.  The original plan was to make it safer for the kids who kept bumping in to the sharp edges.  We all love the cover so much that now we're afraid of them dirtying it up!  She did scotch guard it, but we're thinking of putting clear plastic on it lol.  Hope you enjoyed our little projects we've been finishing.  I guess we've been busy!

Domestic Superhero Pin It

Thursday, May 30, 2013

Bar Stool & Chair Makeovers


I wasn't sure/still am not sure about what kind of stools I want for the kitchen.  There isn't a ton of room to tuck the stools under on the long side so we knew we needed them small.  
For the time being we went to walmart and bought $24 saddle stools. 
 
If you recall, mom started this project during our pinterest party. I don't really have formal instructions but I can try to list them out. All you need is a staple gun, staples, fabric, foam, and batting.  A strong hand would help too, that staple gun is hard to use.
She put the foam on the chair, then put batting around it and secured it with staples.
 Then she folded over the fabric and stapled it to the underside of the chair as well.  They came out great. I love the fabric!
Gigi was feeling a bit over ambitious and decided to take 2 of the chairs you see her standing by (we use 2 for the deep side of the island overhang) and cover those chairs.  They have a hard sturdy seat that comes off.
I had a coordinating fabric in the same color from Premier Prints that works PERFECTLY! She just used the batting and fabric. No foam on these.  I love how we were able to transform the space cheaply since I am not sure what I really want. Thanks Mom!!
Domestic Superhero Pin It

Wednesday, May 29, 2013

Memorial Day/ 4th of July Embroidered Shirts

I am really happy with how the shirts came out for Hadley and Max for memorial day/4th of July.  It was my first time appliqueing and of course I picked elaborate designs.  They were just too cute not to.  To give you an idea, each different color fabric has to be cut and you have to take your hoop out of the machine.  I really got the hang of it when I did Max's shirt. It still takes me a couple hours per shirt, but I am getting the hang of it now so I hope to speed that up.  
I still need to work a little on placement, but it's pretty good considering I did almost everything myself (I broke a needle and David replaced it for me).
He looked so cute in the shirt at the pool. I took it off once it got really wet, because it wasn't a wet t-shirt contest.
Silly boy faces.
For Miss Hadley I made these chevron flag onesies with different fabric choices. It took a while to cut around all those zigzags, but it is adorable!  Michelle found the perfect matching accessories (skirt and bow) from The Childrens Place.
I mean, you can't get cuter than this.  I couldn't ask for a more precious model!
Such a sweet girl. Love her and her outfit.
I had to include an outtake. Poor gal isn't steady sitting on her own yet and she tumbled backwards a few times. Hadley was not hurt during the shoot, she was a little trooper!  Let me know if you'd like a shirt for the 4th of July. $18 per shirt, $21 shipped.
Pin It

Wednesday, April 24, 2013

The Pinterest Party Results Are In!

We started the pinterest party off with yummy food and beverages.
On the menu was Kerry's delicious Eclair Cake.
Erin brought this amazing skinny funfetti cake dip via a recipe she found on Pinterest. My picture doesn't do it justice. It tasted JUST like the cake batter, but its safely edible and delicious!
I supplied the margaritas,
Some dip and I made my M & M bars. We had way too much food for us, but we didn't mind one bit.
One of the highlights of my night was getting to use Erin's cricut machine. I love it, but it is a lot of pressure to make sure your design is straight when applying the vinyl.
My first project was to clean my make up brushes with hot water and vinegar followed by rinses. I thought this would be an easy task, but I have to say...
Pinterest Fail.  My makeup caked up to the top of my brushes and did not look good.  Mom ended up just washing them with some dawn dish soap and that worked WAY better.
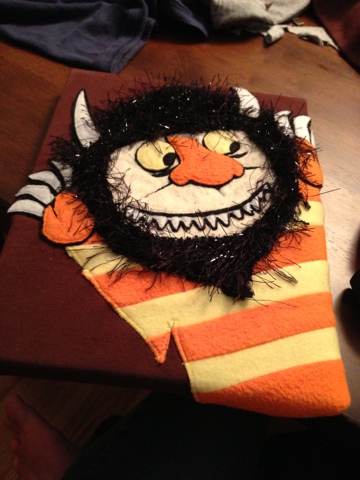
My next project was converting t-shirts to wall art via canvas. I went to Hobby Lobby and purchased 8 x 10 canvas for a decent price and used a staple gun to staple the t-shirt to the canvas. It was a fairly easy task, but the staple gun was harder to press than I anticipated so it hurt my hand.
 I only ended up doing Max's Wild Thing T-shirt and 1 old Cheer shirt. They came out great though and I will finish them at some point. Success!
Erin made these adorable magnets from scrapbook paper
And helped me with this monogram vinyl for this clear cup she had. How cute is this!
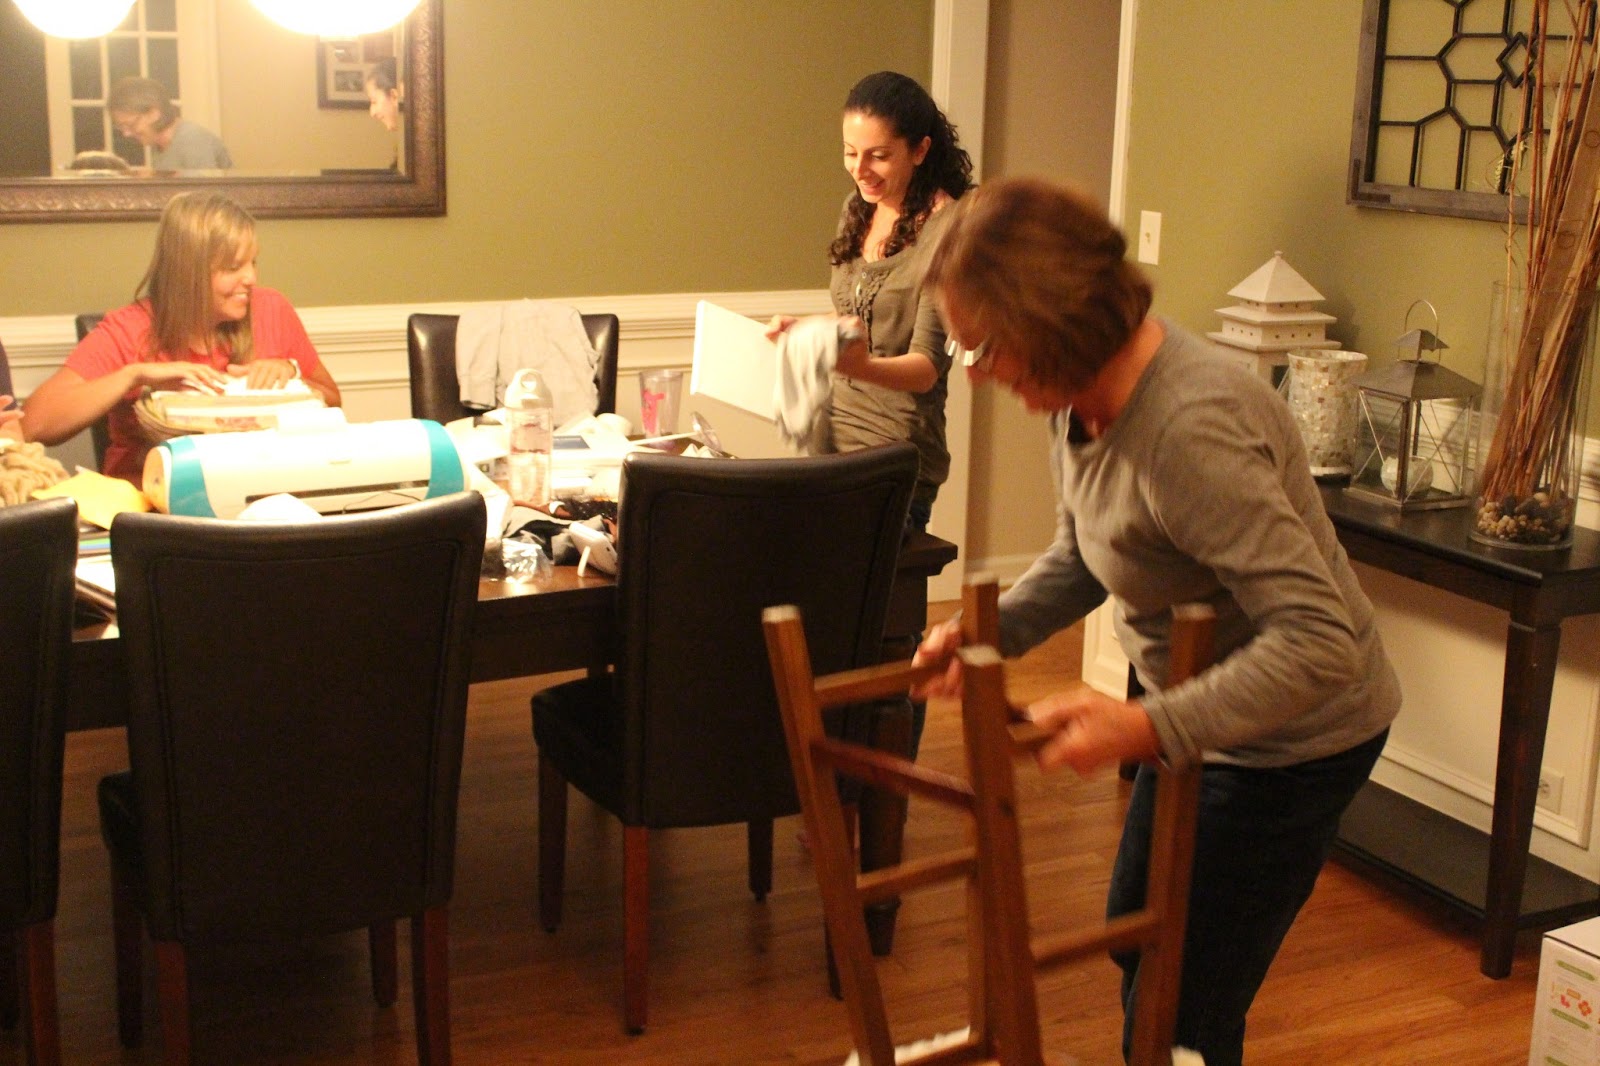
Action shot. You can see Mom hard at work on covering our kitchen bar stools. 
This is the fabric I chose.
It takes a long time to do one and we were all too busy talking, drinking and eating to do a complicated project. This is our finished product... JK. She used foam padding and batting around the chair. It is quite comfy now and I can't wait till we finish (pics to follow-someday).  Yay Mom!
Kerry really embraced pinterest for her project. She decided on a burlap wreath. Now, haven't we all wanted to make one of these?! She found a GREAT tutorial and was able to make this faster than any of us with our projects.
 
I mean seriously, this looks professionally done. Fantastic Job Kerry!  Success!
Here we all are with our projects.  We had a few gals who were unable to make it to the party, but we will definitely have another one so hit me up if you are interested.
David was taking the pictures and said "OK, now look away." Apparently Kerry and I were the only ones to take direction.
Kerry and Erin

 I love my cup (and the cricut, and Erin)!

Max was outside with David and David (David's BFF) and this is what they were doing (apparently Max was pretending he was the dog). I'm linking up with these lovely blogs below.
Gingerly Made
All Things with PurposeDomestic Superhero
Pin It
 
Blogging tips