We had a great birthday celebration for Max this past weekend. I had been party prepping for a few weeks and was hoping not to leave things till the last minute, but with setting up it usually happens. I want to shout out to all my helpers (Aunt Kathy, Marla, Mom, Michelle, Chris, James and David). They helped by cooking cakes, cupcakes, food for the party and cutting all the banners, just to name a few things. Yay team work!
I made an easy monthly photo display of Max by using little clothes pins that I spray painted green to match the theme and used twine/hemp as my line. I ordered pictures for the party (and my wall frames) from mpix.com. Professional photographers have always told me that's the best quality photo prints and it
REALLY is. Especially if you have professional photos that have been edited, they come out so crisp and have an overall look that is impeccable. The pricing is so similar to snapfish, shutterfly and all them that you really need to try it.
These are 2 of my favorite details from the party. Max's Where the Wild Things Are T-shirt came from a talented company on etsy,
Jake and Lucy. I found them from someone else posting about a Wild Things B-day party and her son was wearing a shirt like this. She does mostly request only type jobs right now and it was pricier than I wanted to spend, but it was worth it. It's seriously the most adorable shirt I've ever seen. We're going to maybe frame it and put it in his room to match his room theme.
I also love the treat bags. I got the idea and tutorial from
this site. I have a little Epson printer which really did a great job for me (no paper jams or anything). I found a black and white image that I wanted to use via google (just make sure it's large enough so it's not blurry), I brought it into a word doc and formatted my doc to be the size of the brown bag, added the text and ran in through the printer. It does take patience trying to set it up and figure out what side goes where and to finagle it, but it was worth it. Lacey found a font that worked perfectly for the Wild Things Theme. It's called Hectic and you can find it at
1001fonts.com and download it.
Now it was time to hang the banners and the tissue paper poms.
Lacey designed all the paper products you see (invitation, banners, menu cards and cupcake toppers) and they are fantastic. It also helps that my dining room was painted a jungle green (was here when we moved in).
Don't you just love the little Max character? Marla had the idea to dangle them from all sorts of places, great touch.
We made 30 tissue paper poms (10 in each color-lime green, dark green and regular green). I bought Tissue paper in bulk from amazon (100 sheets, so 10 sheets per pom) and followed
this tutorial. They really aren't hard, just time consuming.
Poms everywhere, I didn't picture them in the entry way, but they were a great filler since we had a lot of spaces that needed decorations.
We set up a dessert table and unfortunately the sun wouldn't cooperate to get a better picture. We used balloons and streamers to give a nice backdrop for the cupcakes and smash cake.
It doesn't look like it, but there were almost 5 dozen cupcakes over there!
Usually I try to take the credit, but I am going to embarrass my husband and tell you that he frosted the smash cake. Although he is very handy with tools and all that he can also frost a cake with the best of them. He used
this tutorial for his inspiration and fondant (purchased from Michaels) for the facial features. I forgot to get a picture with the horns on, but you'll see it when I show you Max eating the cake.
He also wanted to make little monsters for the cupcakes.
We did some with the toppers and the rest just used frosting for the faces.
Have you ever seen posts from pinterest where you try something that sounds so easy on pinterest and then it doesn't come out exactly the way you want. Check out
this link. That's what we thought of when we attempted to frost the cupcakes... Our
inspiration was on the left and we ran out of time and patience so what we got was on the right. They are still cute, but I thought it was funny.
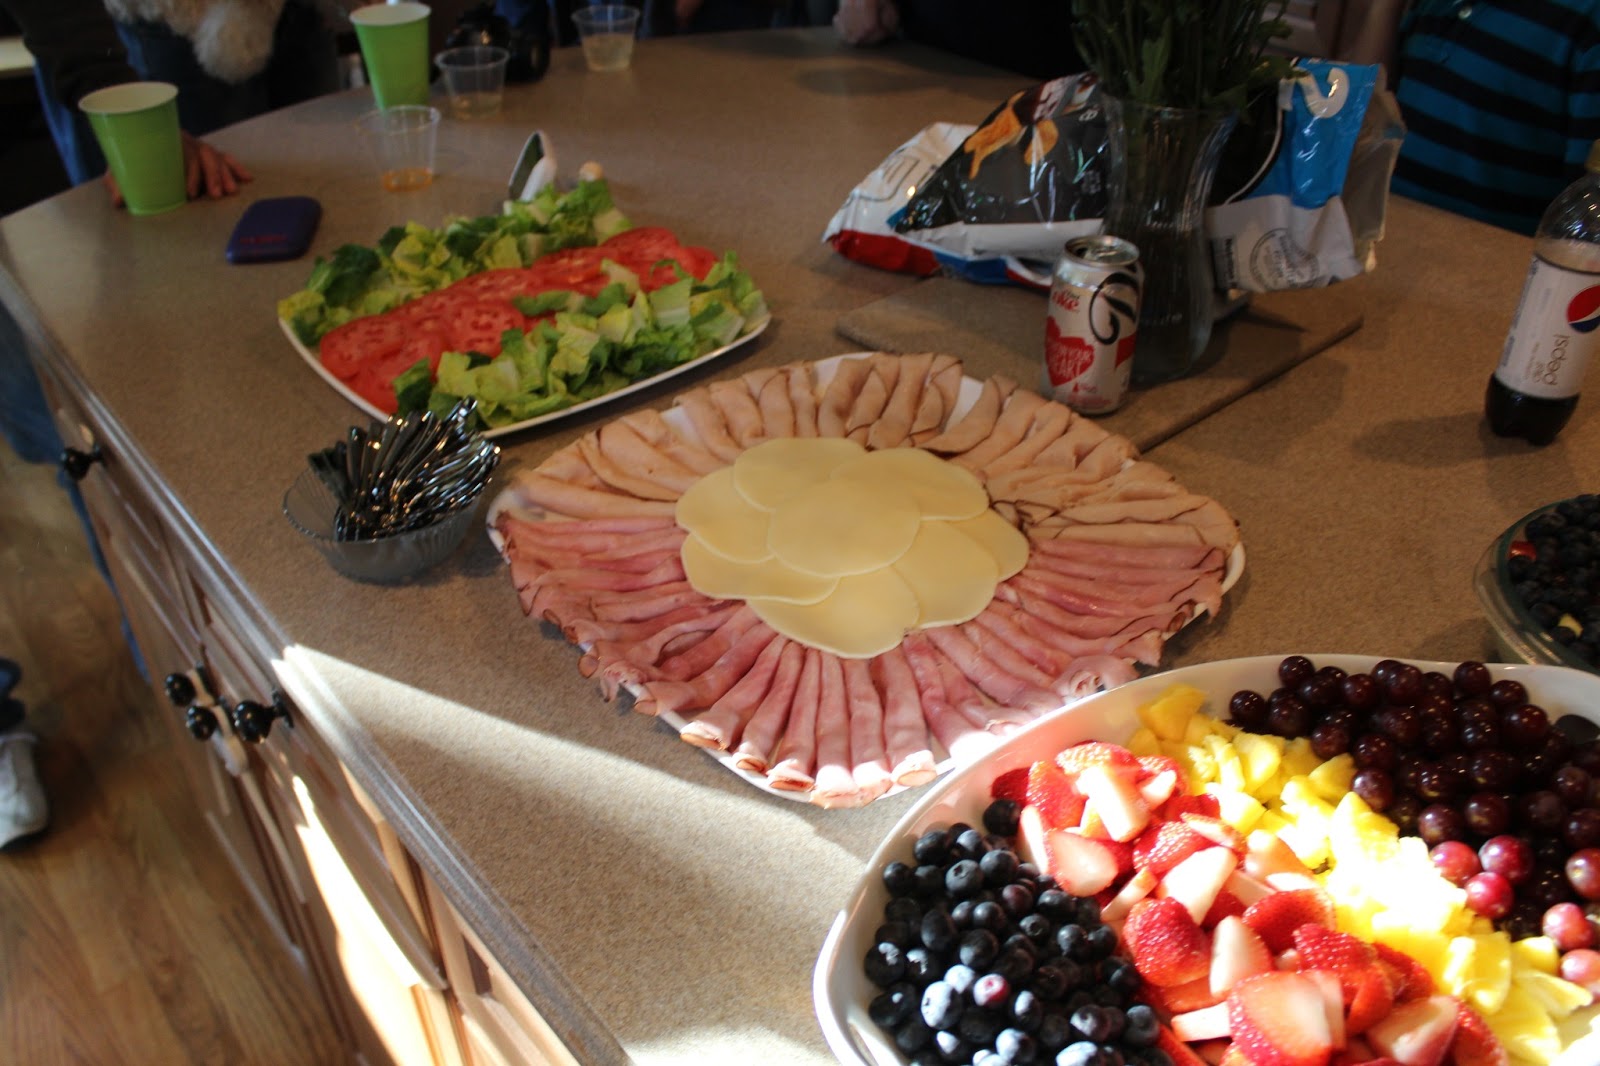
Hanging over the food display.
I made a very tasty white wine sangria with lots of fruit. Here is the basic recipe (I multiplied it by 4 or 5 to fit in the beverage container):
- 1 Bottle of white wine (Riesling, Pinot Gris, Chardonnay,or Sauvignon Blanc)
- 2/3 cup white sugar (just add a little at first and keep trying it, you don't need a ton)
- 3 oranges (sliced)
- 1 lemon (sliced)
- 1 lime (sliced)
- 1/2 liter of ginger ale
- More fruit (I added frozen mixture of peaches, raspberries and then fresh strawberries, apple pieces and pineapple in addition to the above), really any fruit works, just have a lot
For the menu I made pulled pork from a nice pork shoulder and butt. We used sweet baby rays bbq in one pan and Stubbs in the other (it was a tie for the tastiest one) and I added a little ginger ale and fresh onion to each.
Fruit salad
Deli meat tray as well. We had about 25-30 adults and 12 kids so I wanted to be sure to have enough food.
We finished off the decor with Max's high chair banner.
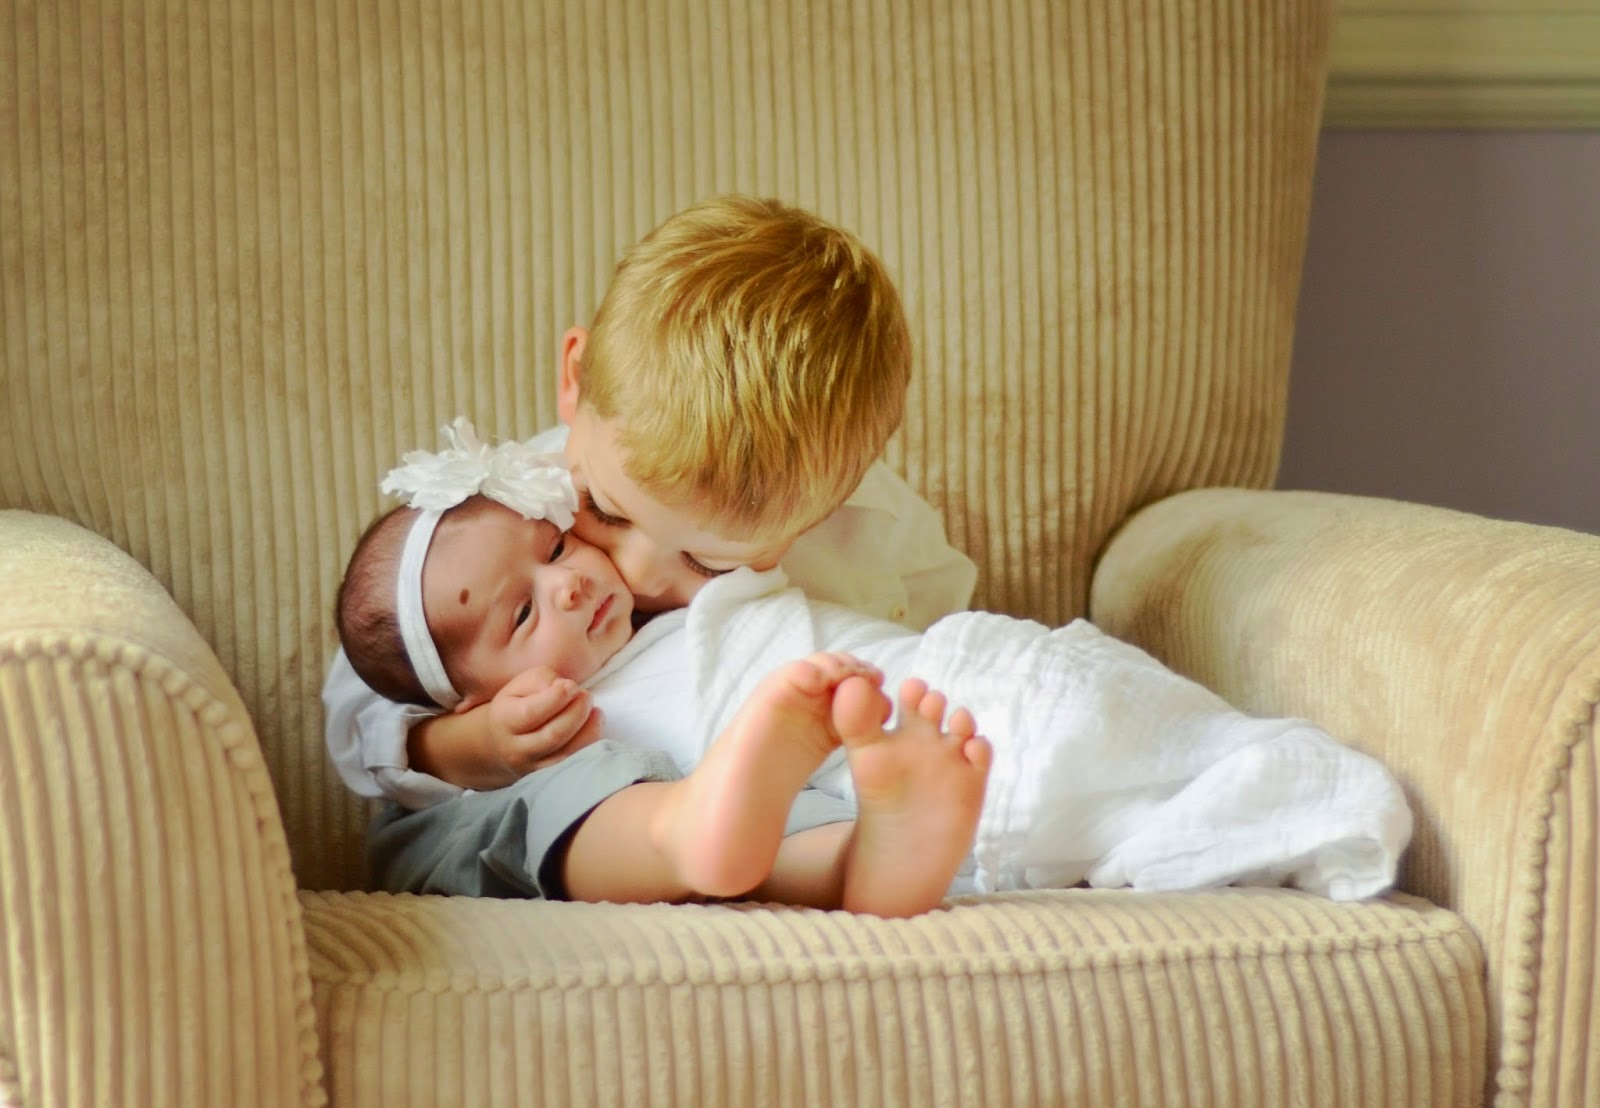
David found this birthday crown at Party City to go with the party theme. Stay tuned to the next post for pictures of the birthday boy!


5 comments:
SO cute! Love all the details!
I love all the details too! The nailed it picture cracks me up haha but yours really isn't that bad!! Love all the poms, they add so much!
Wow that looks like a lot of work! Seems like more seeing it all online. Good times!
Wow. Seems like even more work seeing it all listed out. Good times! :)
Wow, you did a fantastic job! My little one is turning one in July and I have no idea what theme to choose. This is a great one though!
Post a Comment