
This weekend I was set on making a ruffled christmas tree skirt. I knew that if we didn't do it this year that I would prob. never have enough time to do this again. It was a very long process, but SO worth it. I love it so much and am so glad I only have a week to wait to put the tree out and use it. I am warning you though, this is a very time consuming project and is not for beginners. You will qualify though if you have 2 novice sewers. My thinking is 1 medium level sewer = 2 novice/beginners so David and I put together were able to do it. There are other tree skirts out there that are no-sew, but I am wanting this to last forever and be passed down to generations lol. I got inspiration and tutorials from this site and this site I found via pinterest. They have step-by-step instructions that are way better than I could ever tell you. We did a bunch of math though to convert their 44" tree skirt to a 60" one so if you're interested I can email you our spreadsheet, but it's way too long to explain here.


I'm sure you are all aware, but David is def. my secret weapon on inventing smarter/easier ways to craft.


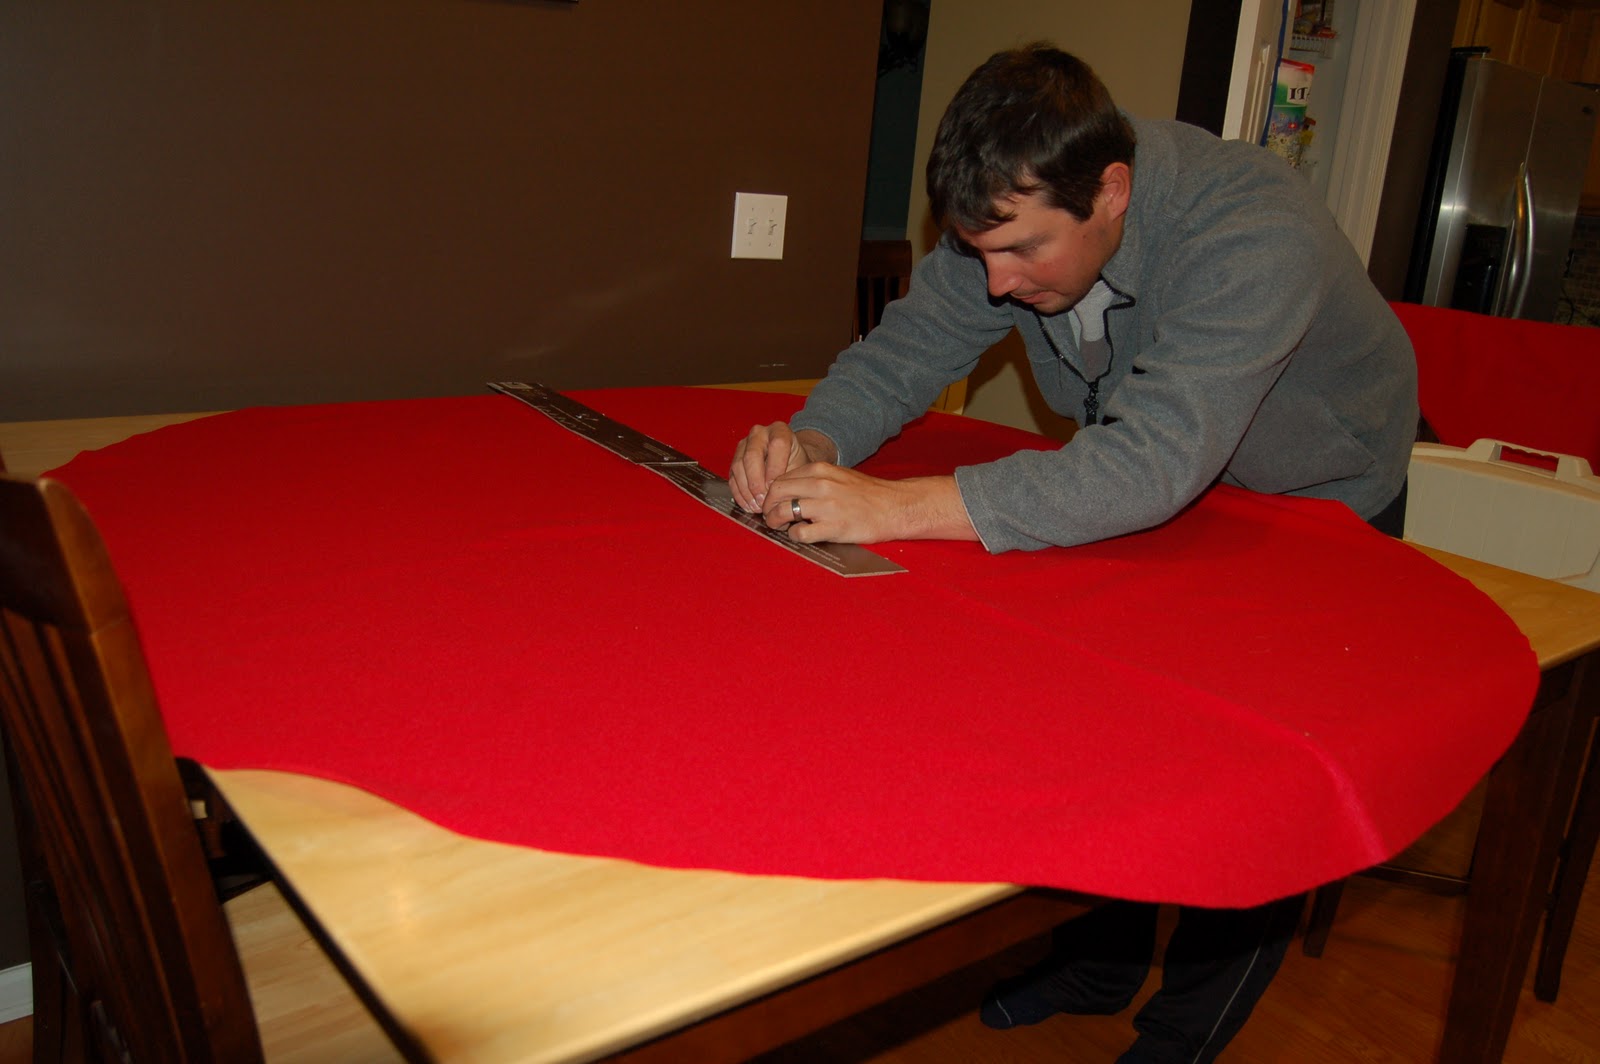
I just wanted proof that I did some of the sewing as well.


Our finished product!!! I will put some final tips about the process since I am not putting step-by-step instructions.
-Definitely use felt as your pattern and template holder
-Please hem each piece, I know this takes a while to iron the hem and then sew it, but if you want this to last you need to hem each piece or it will fray and fall apart.
-Know how long each ruffled piece needs to be before ruffling and sewing them all together
-Do your math to calculate how much fabric you will need (or just follow those other tutuorials for their exact sizes). I think we used close to 6 yards of fabric total
-Have a helper, even if its just to iron all the pieces to make the hem and help cut all the fabric.
-Go buy your christmas fabric now, all the good stuff seems to be being used up
-Get a fabric cutter, we used something like this and a mat of some sort (we used some spare piece of something David had).
-We used thicker red ribbon for the top part of the tree skirt and just assembled it over the top ruffle to make it more durable and cover up the top ruffle sewing area.


7 comments:
Love how it turned out and Love David's xmas ninja headband!
so pretty! love that it doubles as a skirt too! ;)
It turned out so cute! I love that David helped...and made a headband!
SO CUTE, wow what a huge project. Those last pictures crack me up!!
I can't believe you knocked out that project this weekend!! It looks awesome!!! You guys are a great team! The last few pictures are hilarious!
Great job! FYI, there are stores that sell things like that. It's real simple, you stop on in, grab one you like, give them $20-30 and BAM, tree skirt of your very own! :o)
I am very impressed and it will be such a keepsake to proudly place around the tree every year! Smart thinking to get it finished now! Love the hula skirt look!
Post a Comment